How to Take Screenshot on HP Laptop Tips and Tricks 3 Solution
Do you want to save an image of any important part of your HP laptop screen? Then there is no need to install any separate software. There are several built-in options for taking screenshots on HP laptops running Windows 10 and Windows 11. If you use an HP laptop, you can use most of these methods to take screenshots.
How to Take Screenshot on HP Laptop Tips and Tricks Type 1
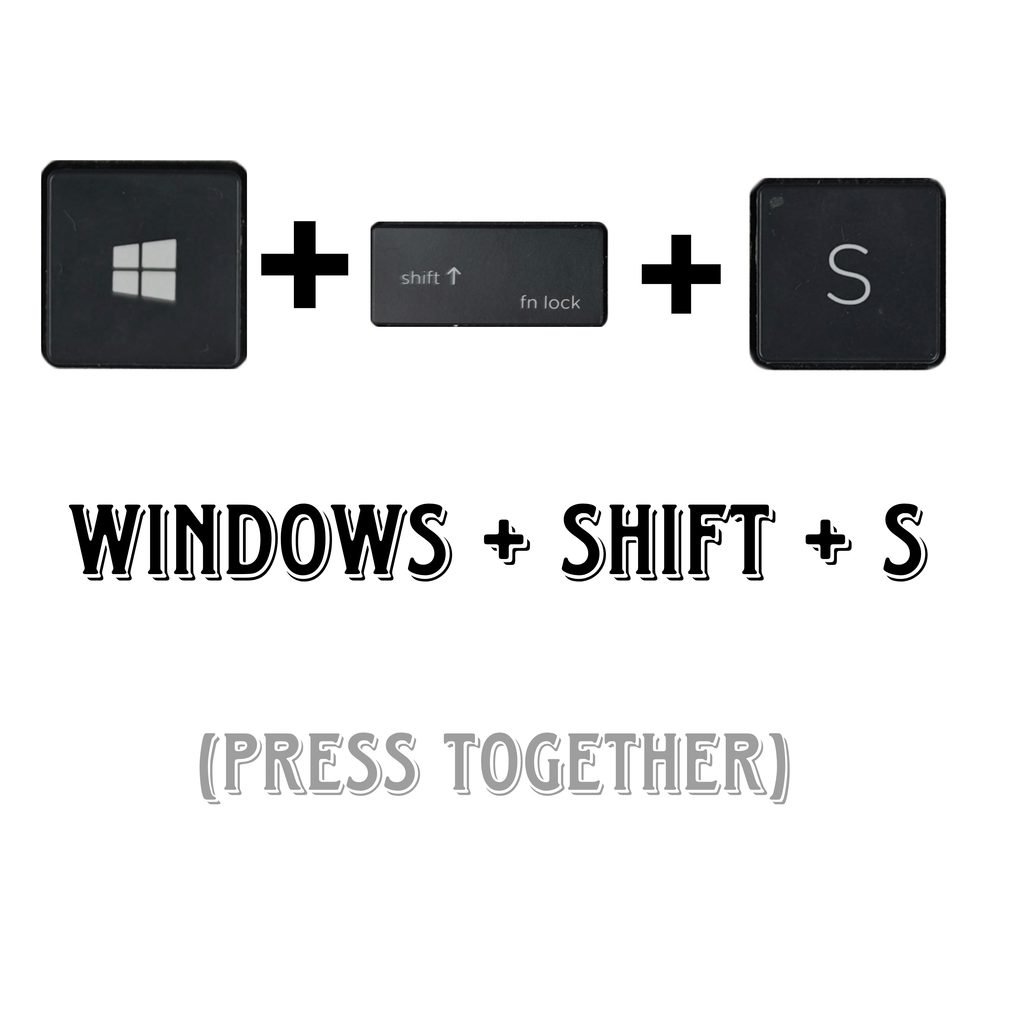
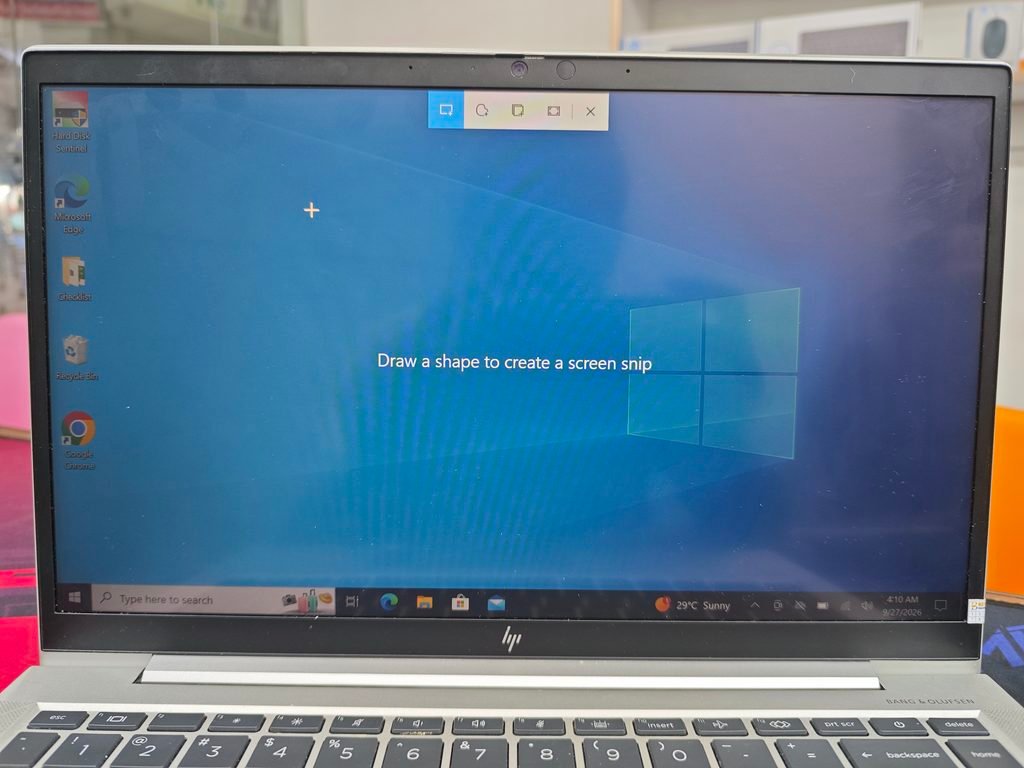
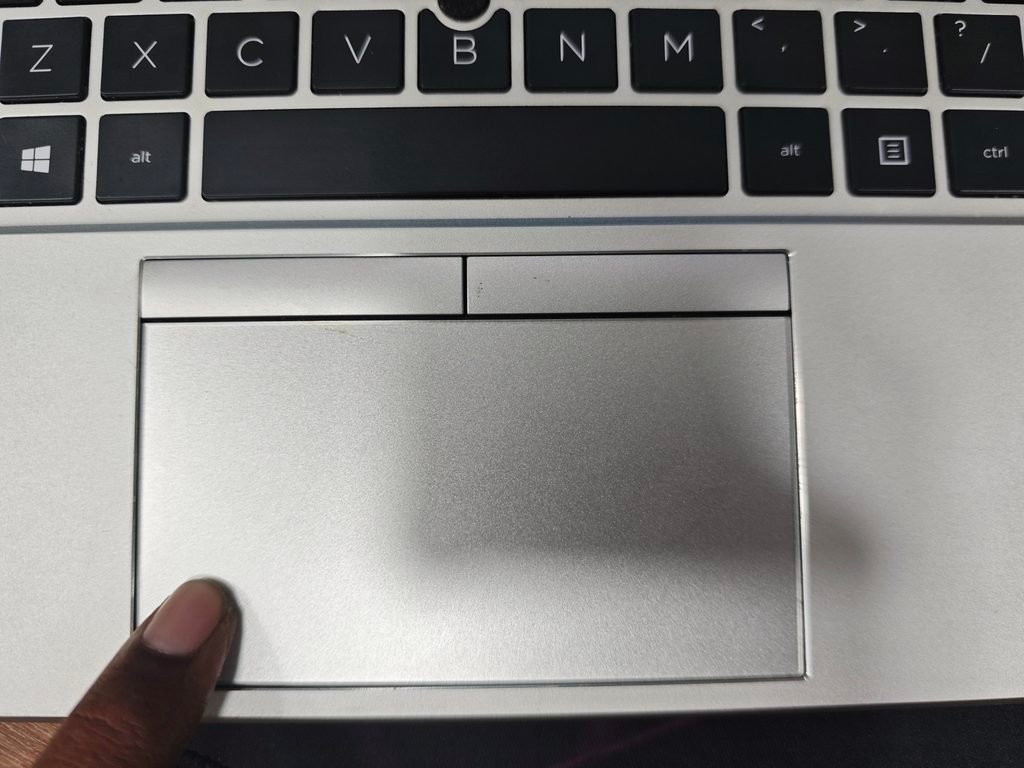
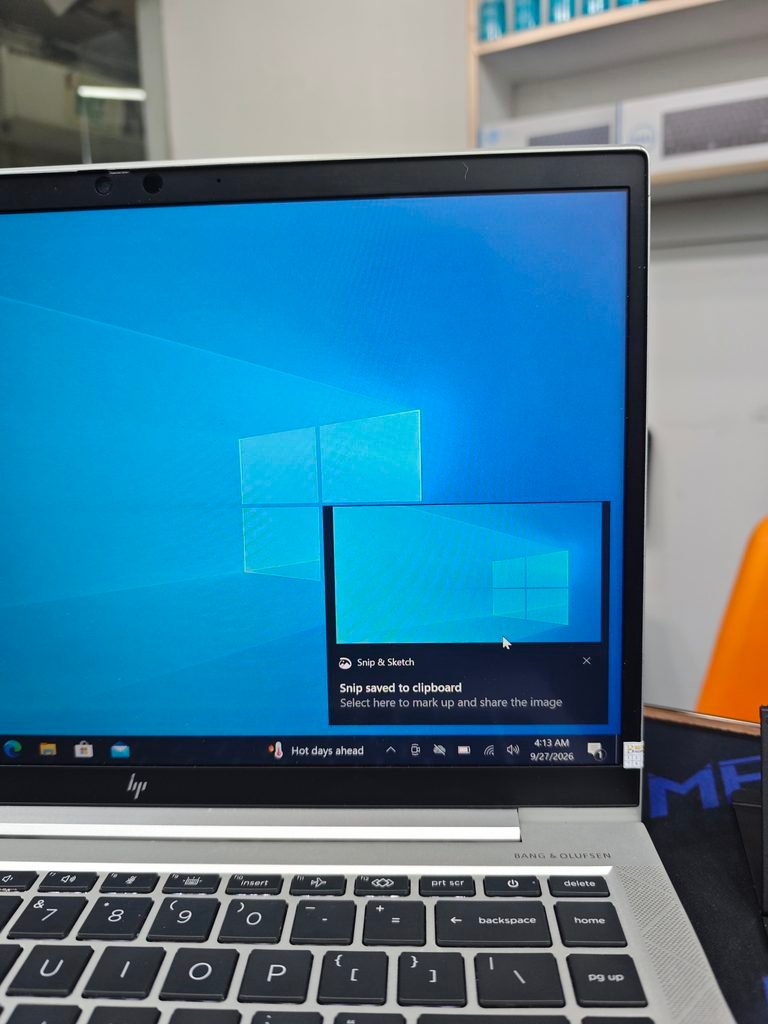
- You can take a screenshot on any HP laptop using Windows + Shift + S. Press Windows + Shift + S on your keyboard simultaneously, and you will notice the laptop screen dimming slightly. Then you will see the screenshot selection option appear at the top of the laptop. Select the area you want to capture using your mouse or laptop touchpad Left Side use for screenshot. You will see the screenshot being copied to the clipboard. To save it, click on the notification to save the screenshot, or open Paint, press Ctrl + V to paste the screenshot, and then save it.
Step A
Step B
Step C
Step D
HP Laptop Tips and Tricks Type 2
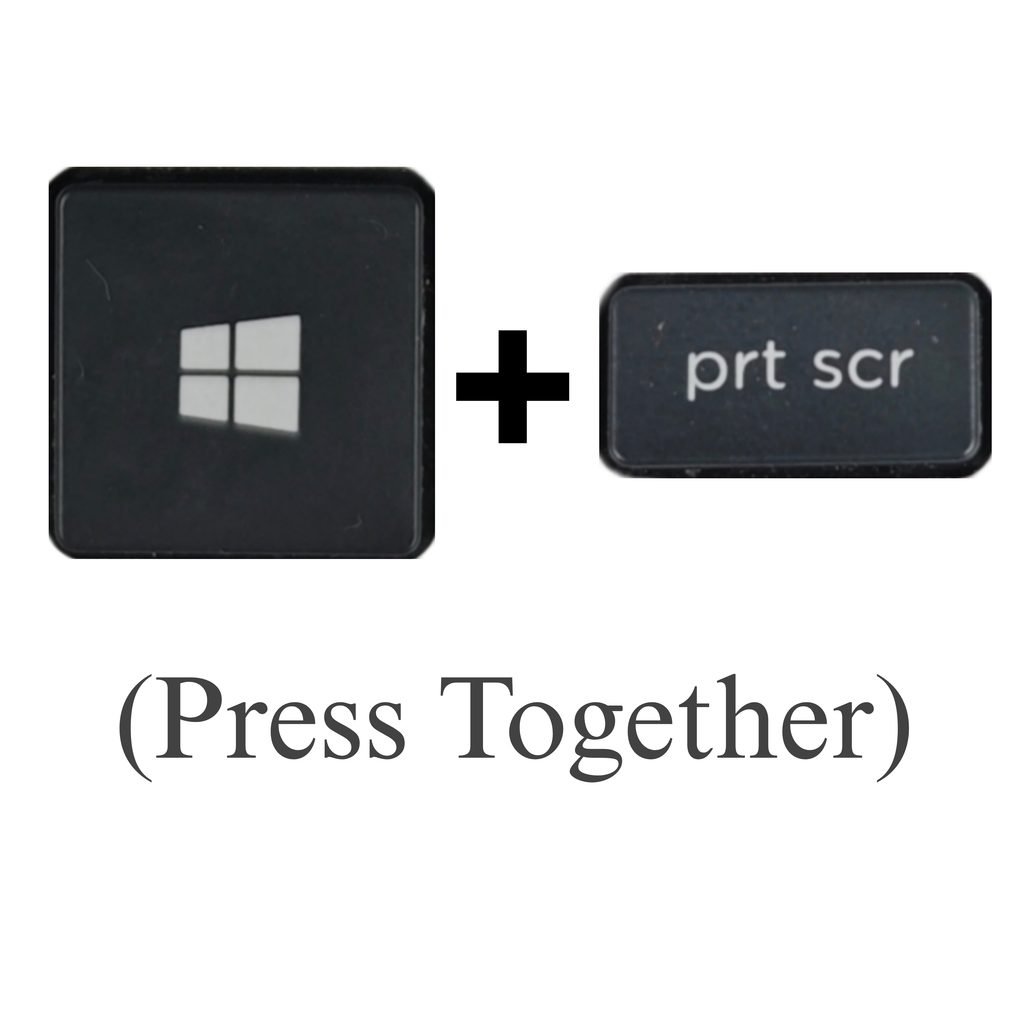
- One of the easiest ways to take a screenshot on an HP laptop is to press (Windows + prt scr) simultaneously; the screenshot will be taken and saved automatically.
HP Laptop Tips and Tricks Type 3
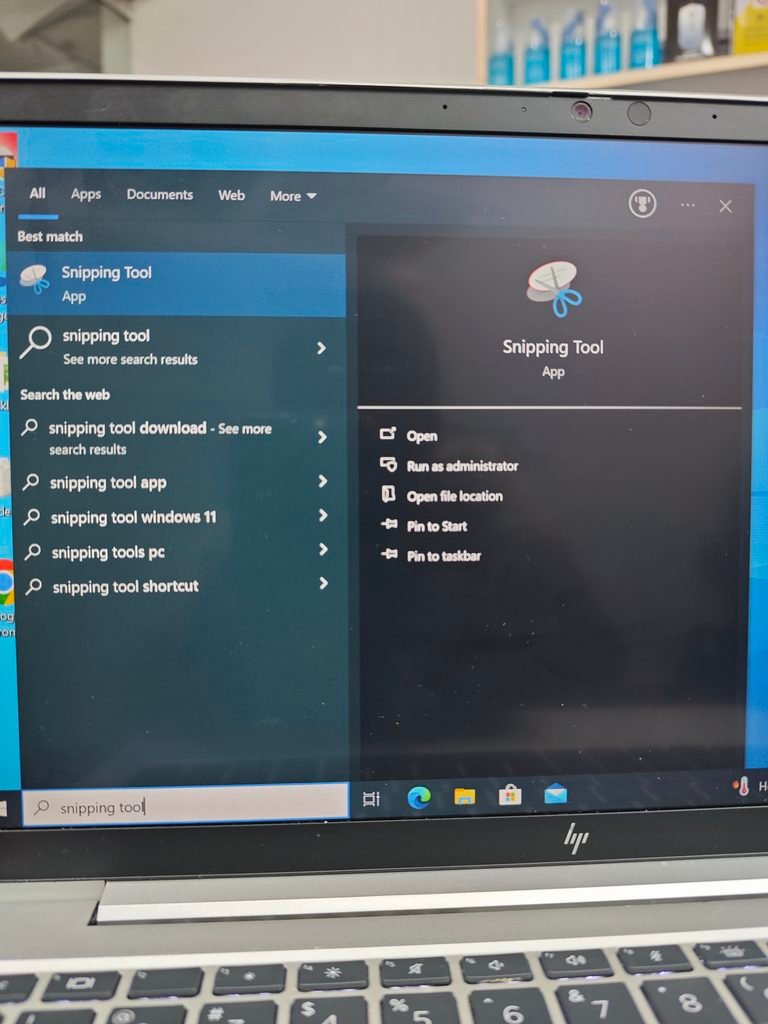
- You can also take a screenshot on an HP laptop using the built-in Windows Snipping Tool. Open the Start Menu on your laptop and search for “Snipping Tool.” Open the application and select “New.” Select the desired area of the screen to take a screenshot, then use the “Save” option. The Snipping Tool is specifically used when you want to capture a specific part of the screen.
Note
Taking a screenshot on an HP laptop is very easy. As a result, third-party software is not required to take screenshots. For HP EliteBook, ProBook, Pavilion, or other HP laptops, the shortcut may vary slightly depending on the keyboard layout.
Pingback: HP EliteBook 745 G5 Specs and Specifications – Full Details - BEST CHOICE AREA